ツァ2024-11-21
-
Jetson Orin Nano Developer Kit

-
Included in the Box
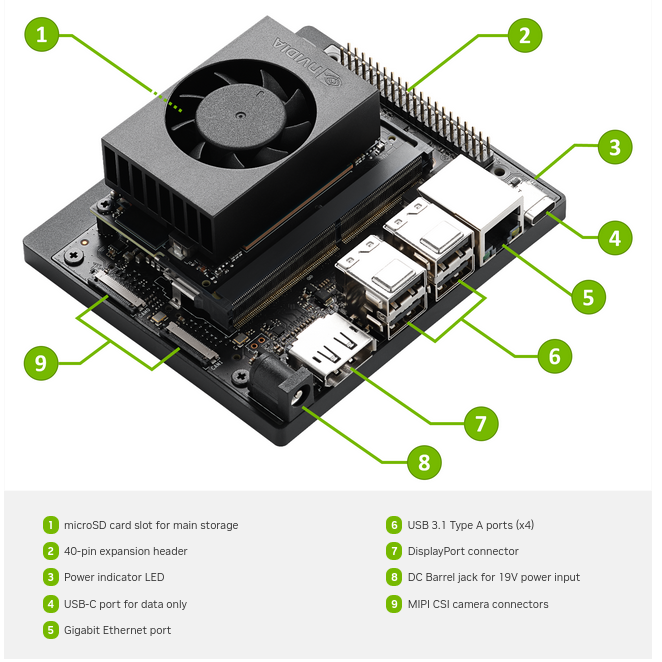
- Jetson Orin Nano module with microSD card slot
- Reference carrier board
- (includes 802.11 plug-in WLAN & BT module preinstalled with antenna)
- 19V power supply
- A small paper card with quick start and support information
-
Items not Included
- microSD card (64GB UHS-1 or bigger recommended)
- USBeyboard and mouse
- Comter display
- UScable
ツカ the Firmware (if needed)
Your Jetson Orin Nano Developer Kit may be ready to run JetPack 6 by having the latest firmware ("Jetson UEFI firmware" on QSPI-NOR flash memory) flashed at the factory.
If this isn窶冲 the case, you窶冤l need to upgrade to the latest firmware.
You can now upgrade to the latest firmware on Jetson without the need for a host Ubuntu PC: follow the steps in this page to check if your Jetson Orin Nano developer kit has the latest firmware, and update it using an SD card containing JetPack 5. follow instructions here >
ツカWrite Image to the microSD Card
To prepare your microSD card, you窶冤l need a computer with Internet connection and the ability to read and write SD cards, either via a built-in SD card slot or adapter.
- Download the Jetson Orin Nano Developer Kit SD Card image from JetPack SDK Page , and note where it was saved on the computer.
- Write the image to your microSD card by following the instructions below according to the type of computer you are using: Windows, Mac, or Linux.
ツカLinux using Etcher B recommended
- Dowload Jetson Orin Nano Developer Kit
- zipped image file downloaded earlier, jp61-orin-nano-sd-card-image.zip
- use Etecher to burn into sDram
- Files: Jetson Orin Nano Developer Kit

&pra;Using command line
dmesg | tail | awk '$3 == "sd" {print}'
/usr/bin/unzip -p ‾/Downloads/jetson_nano_devkit_sd_card.zip | sudo /bin/dd of=/dev/sd<x> bs=1M status=progress
/usr/bin/unzip -p ‾/Downloads/jetson_nano_devkit_sd_card.zip | sudo /bin/dd of=/dev/sd<x> bs=1M status=progress
ツカSetup and First Boot
- Setup Steps
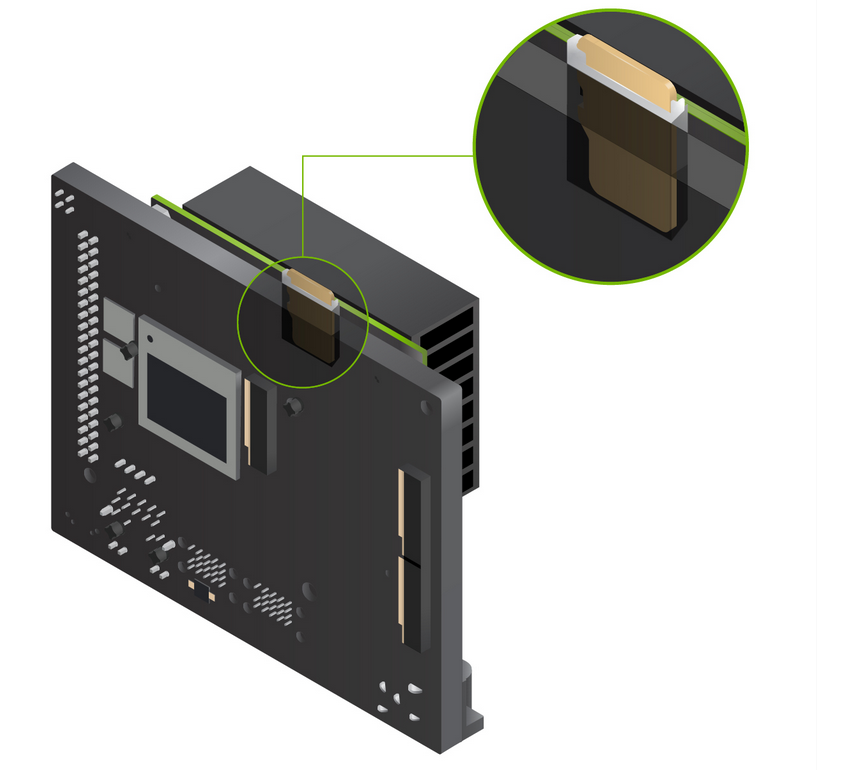
- Insert the microSD card (with system image already written to it) into the slot on the underside of the Jetson Orin Nano module.
- Power on your computer display and connect it.
- Connect the USB keyboard and mouse.
- Connect the provided power supply. The Jetson Orin Nano Developer Kit will power on and boot automatically.

ツカ First Boot
A green LED next to the USB-C connector will light as soon as the developer kit powers on. When you boot the first time, the Jetson Orin Nano Developer Kit will take you through some initial setup, including:
- Review and accept NVIDIA Jetson software EULA
- Select system language, keyboard layout, and time zone
- Connect to Wireless network
- Create username, password, and computer name
- Log in
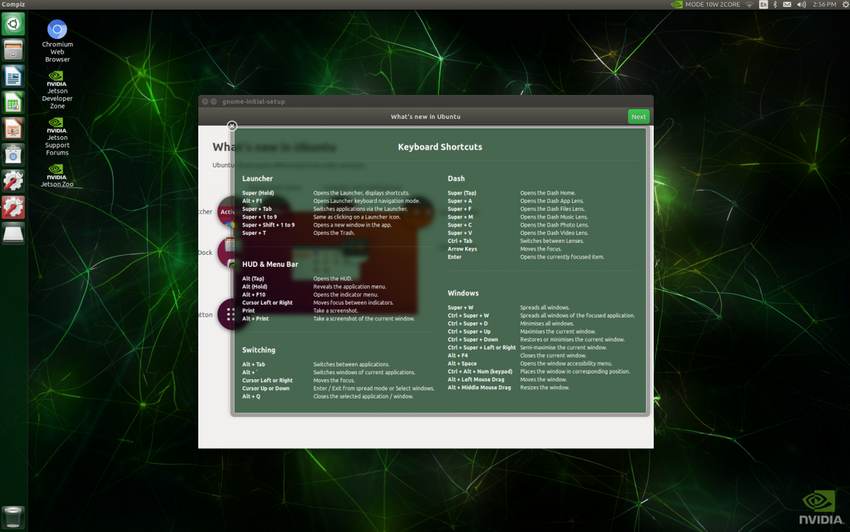
ツカAfter logging
You will see this screen. Congratulations!

ツカNext Steps <-- not quite clear yet!!
-
Find Your Way Around
- Read the Jetson Orin Nano Developer Kit User Guide, which includes:
- Many more details about the developer kit hardware
- Overview of NVIDIA JetPack, and ways to flash the developer kit
- Head to the NVIDIA Jetson Developer site for access to all Jetson platform information.
- Ask questions or share a project on the NVIDIA Jetson Forums.
- Read the Jetson Orin Nano Developer Kit User Guide, which includes:
-
Custom pre-configured SD card images
-
Follow the Jetson Isaac ROS Visual SLAM Tutorial, which guides you, obsolete
- Please reference the official Isaac ROS Docs Site to get the latest information and the quickstart guide on isaac_ros_visual_slam. Please reference the official Isaac ROS Docs Site to get the latest information and the quickstart guide on isaac_ros_visual_slam.
- Set up your Jetson Orin Nano Developer Kit with an Intel RealSense camera to quickly test the best-in-class VSLAM library
- With a pre-configured SD card image to eliminate much of the set up process
This tutorial is deprecated.
-